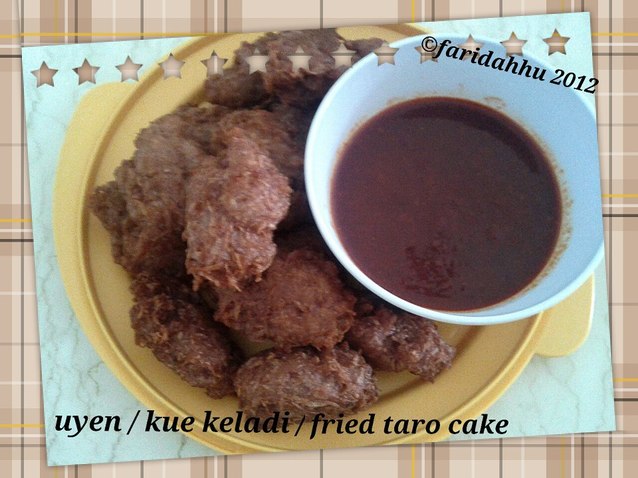
Fried Taro Cake / U yen / Kue Keladi
(courtesy by : wat 2 cook 2day)
Ingredients :
12 oz peeled taro (grated)
1 Tbsp ground soy bean paste (tau cheo)
1 tsp of grated ginger
3 Tbsp of corn starch (this may vary depending on the water content of the taro itself)
1 tsp salt
Vegetable oil for deep-frying
Instructions:
Mix the washed Taro (using method mentioned in notes below) with the ground soy bean, grated ginger and corn starch. Mix them well. The mixture should be somewhat lumpy and you need to see if they hold up pretty nicely when you spoon it up to form a ball. It won’t be a perfect ball and don’t sweat it.
Add more corn starch if you feel that the mixture is too dry and falling apart when you try to shape it
Heat generous amount of oil for deep-frying. Once the oil is hot enough, lower it to medium and drop one spoonful of the mixture in and fry until golden brown. If your heat is too high, it will brown quickly outside and uncooked inside. Have a taste of the one you just fried when it’s cool enough and adjust seasoning if needed. Then continue to fry the rest of the mixture
Notes:
WORKING WITH TARO ROOT: Direct contact with Taro may cause itchiness to your skin especially if your hands are wet. I wear gloves while peeling the skin off the Taro. Another trick you can do is by applying vinegar to your hands if you choose not to wear gloves.
WASHING THE TARO ROOT: Now, you do not want to use water to wash the Taro. As I mentioned above, water and Taro equals to itchy skin. Mix the grated Taro with 1 Tbsp of salt and knead it as you are kneading a dough. Squeeze out the excess water from the Taro (Taro naturally contains water) as much as you can and discard the excess liquid. Set aside.
